
I won’t usually post recipes, but for Thanksgiving, I though I would share two family ones. This post will have a follow-up, titled My Grandmother’s Dressing, which is a family tradition. However, you need the biscuit recipe to really make the dressing the best it can be, so I’ll start with this one. This is going to be long, but biscuits are a serious business! A little background – my Grandmother baked biscuits every day for over 40 years. My dad grew up on a farm, and biscuits were the bread everyone ate at mealtimes. These biscuits could also be put in the pocket and taken out to the field for snacking when priming tobacco. I used to watch her make them every time we visited when I was in kid in the ‘70s and ‘80s. The best thing was getting my own ‘hoecake’, which was the last of the biscuit dough in a small iron pan, with divots pushed into it with a knuckle, and baked just for me. The divots let it get a bit more crispy on the top, and I loved it (she also churned butter, and that is the best to eat on a hot biscuit). While I always watched her make biscuits, and sometimes helped, my brother and I didn’t start making them on our own until after she died. We went to our Aunts (Shirleye and June) who still made them, and learned the technique in a couple of lessons. The main thing about making biscuits is getting a feel for the dough as it is mixed. You will just have to do it a few times to understand, but trust me, you probably won’t make them great the first time. Try again, you’ll get better each time.
The first thing you need to know is that these are not the ‘flaky’ biscuits like out of a can (my Grandmother called those ‘wompum biscuits’, because you womped them against the table to open the can; she thought it was a pretty funny way to make biscuits). These are tender biscuits, as I believe people call them today in the cooking world. I call them the best biscuits, and anything else is just settling. The other big thing about these is how the fat is added to the mixture. I have never seen this technique described anywhere else, so I have no idea how it started, though there are very likely other home cooks who have family recipes like this. The fat (in this case shortening, which is important, don’t change it to butter) is put into the buttermilk and broken up, then the fat and liquid is worked into the flour. I know, everyone says to cut the fat into the flour first, then mix in the liquid, but trust me, this works. I make these regularly, and it is just fine. Now, one thing I need to start with – I don’t actually measure anything but the flour, so while I have put in these measurements for fat and liquid, there is some room to adjust the buttermilk to get the right texture (especially if you use whole buttermilk, which is thicker). Most likely you will need to make a few batches to get a feel for the way you need to mix the dough up, especially if you haven’t made biscuits before. Another thing you will need to have is White Lilly Self-Rising Flour. You won’t be able to use another flour, sorry. If that isn’t available, then I suggest buying Jiffy Biscuit mix and using buttermilk to make them up instead (if you don’t want to do all this work, that is a decent substitute). Sorry for this if you live outside the South, but there really isn’t any substitute. White Lilly Flour is made from soft winter wheat only (the kind that grows well in the South), which makes up good biscuits. (Hard wheat is better for bread and is grown in the Midwest and Plains states, it’s in all other brands of flour.) If you are absolutely determined to try this without White Lilly, then try to find pastry flour, it may work. I have never tried it, but if you want to give it a shot go right ahead, I just can’t vouch for the result.
2 cups White Lilly Self-Rising flour, sifted
1/4 cup Crisco, or shortening brand of your choice
~3/4 cup buttermilk, whole or low-fat (you might need a little more)
2 Tbsp melted butter
(You are welcome to half this recipe for about 6 biscuits)
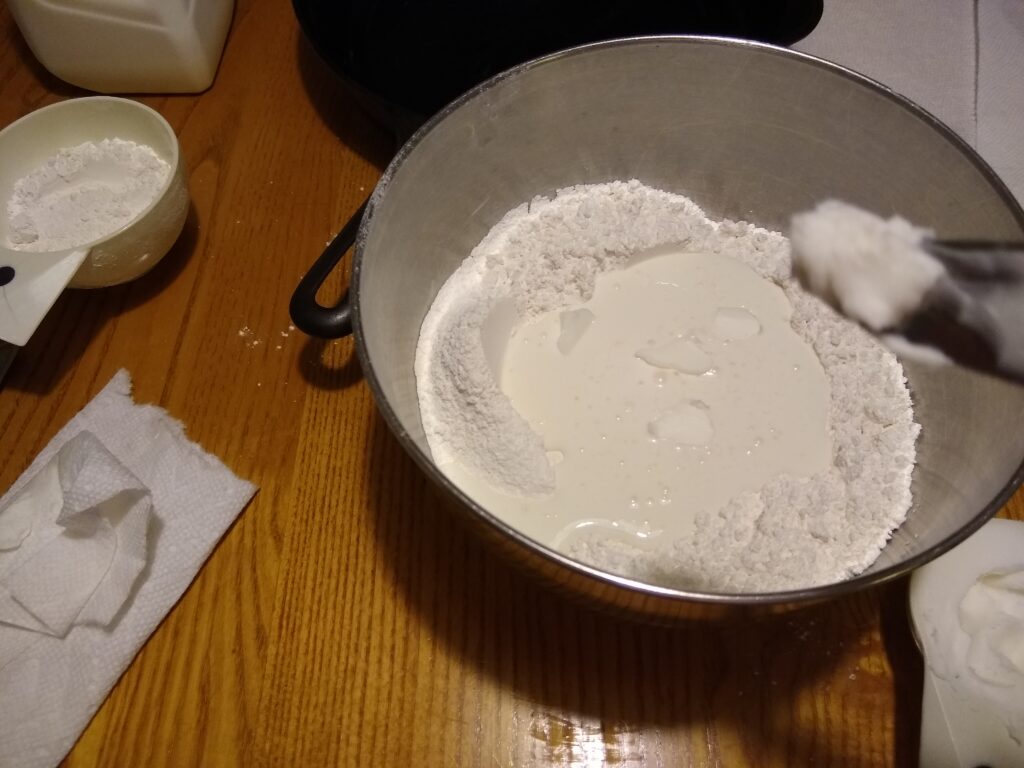
Preheat the oven to 450°. You must sift the flour. You can put the flour into a hand-held sieve, then use a spoon to sift it into a wide or deep bowl, but you can’t skip this step. When I first started, I didn’t do this, because I thought it was just an extra step my Grandmother did that wasn’t necessary anymore. Boy, was I wrong. Sift that flour, it will make all the difference in the texture of the biscuits. You can also sift a little extra for rolling out at this point, about 1/3 cup should do it, just make sure to take out that amount before adding the buttermilk. At this point, make a well in the flour and pour in your cold buttermilk. I usually wait to take the buttermilk out of the fridge just before doing this, but do make sure it is cold. Now the weird part. You need to break up the Crisco, or the shortening brand of your choice (or lard, if you want to get really old-fashioned, my Grandmother was using Crisco by the time I was born). I do this by taking a table knife and just putting bits of fat in with the tip until it is all in the buttermilk. You can also put it in as a lump, then break it up in the buttermilk with your fingers, but you need to move quickly because you don’t want to warm up the milk and shortening with your hands as you work it (my Grandmother did it this way, but she definitely knew what she was doing). If you are doing this the first time, I recommend the knife, as you can mix it quicker into the buttermilk in small pieces.
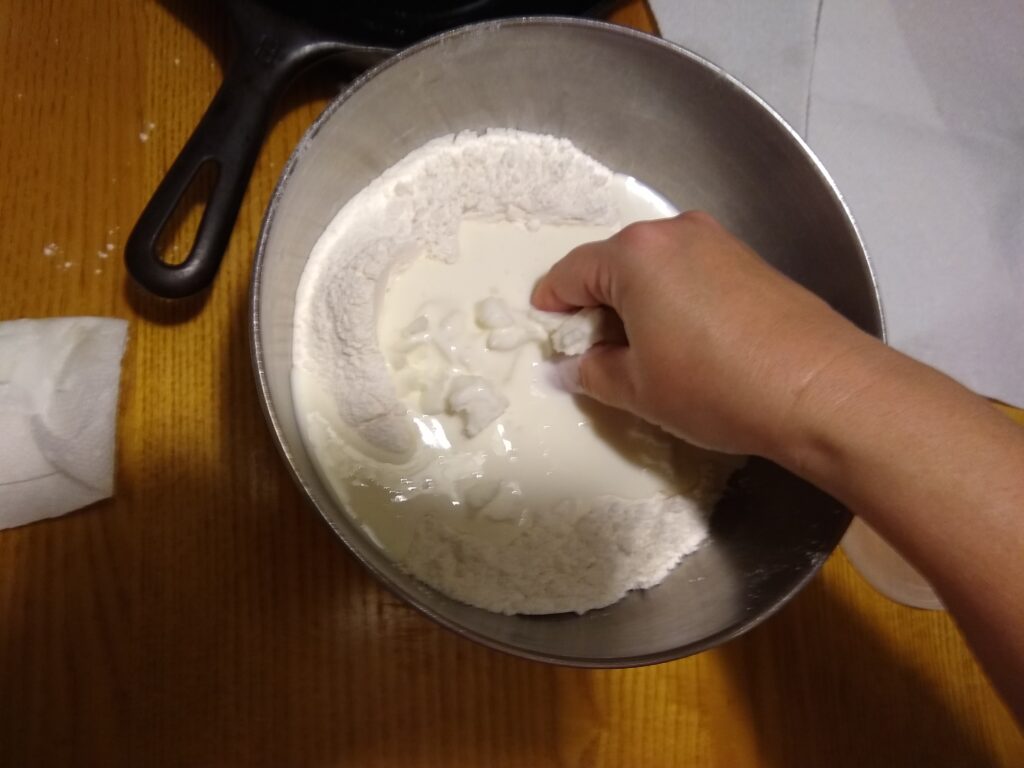
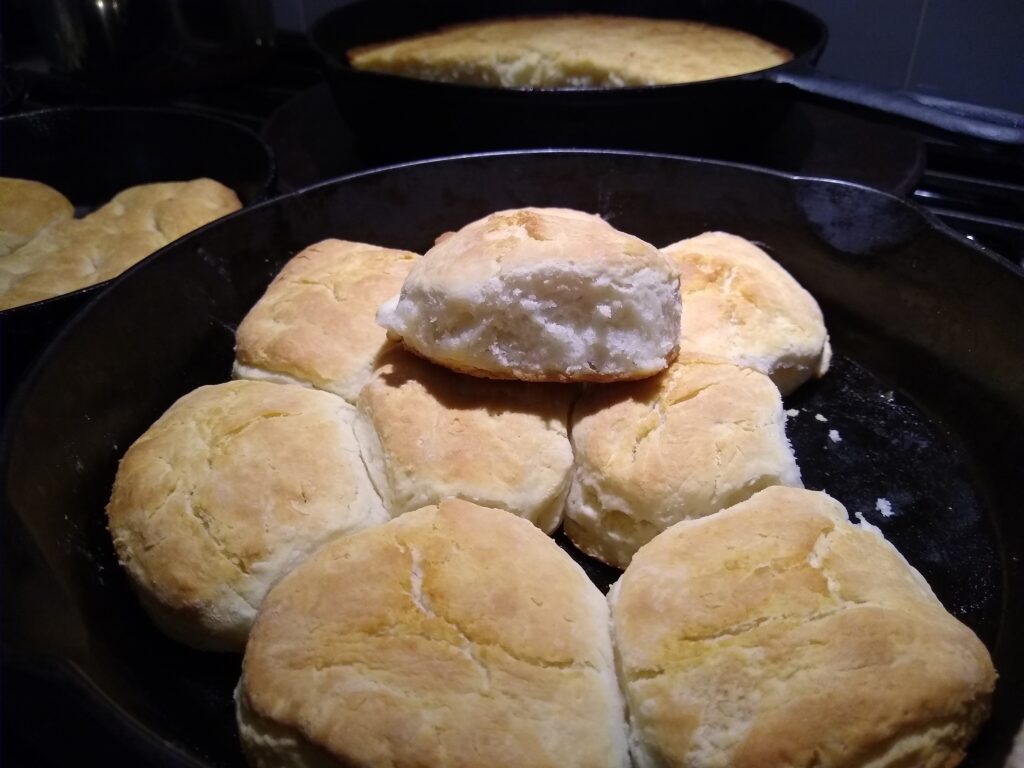
Once the shortening is in those small pieces, start pulling in the flour from your well walls, and mix it all together. You are going to need to use your hands for this and get messy, so have a couple of paper towels to clean up with; trying to use a spoon or fork to mix up the dough won’t work (it beats the dough too much, your hand is gentler). The trick here is not to overwork the dough. You need to move fairly quickly with mixing in the liquid and flour together. Once it is mixed, sprinkle some of the sifted flour from the reserved 1/3 cup onto your board, and spoon out the dough on top. Your dough should be a bit wet and fluffy (you’ll need to wipe your hands off after mixing it together), because you are going to be adding a little bit more flour to it as you pat or roll it out. When the dough is on the board, sprinkle a little bit of flour on top of the dough, then fold it over a couple of times, sprinkling just a bit of flour in as you work. Again, don’t over do this, but you need to work it a couple of times for it to cut out. When it is smooth on top, either roll or pat it into about 3/4 to 1 inch thick and use a biscuit cutter to cut out (it depends on how thick you want your finished biscuit; the first time, you can make some thicker and some thinner, then decide which you like best). Keep the cutouts close together on the dough. At this point, I will let you know a secret. The best biscuits are baked in an iron pan. If you have one, use it. Otherwise, spread a little shortening on a dark baking sheet (try not to use nonstick, it really isn’t any good for these), and place the biscuits on it, not touching, and with a little space around each (the biscuits in the picture above were made for dressing, when it doesn’t matter if they touch; you are welcome to do it that way if you prefer). You can gently roll up the excess dough and cut again, but don’t do this more than one time, using any excess dough as a hoecake or free form biscuit, because overworking will make the dough tough. Use a pastry brush to dab melted butter on the top of each biscuit, then put in the oven for about 15-18 minutes (this will vary with your oven so watch them). When the tops are golden, take the biscuits out, and eat immediately with anything you want. Yum!